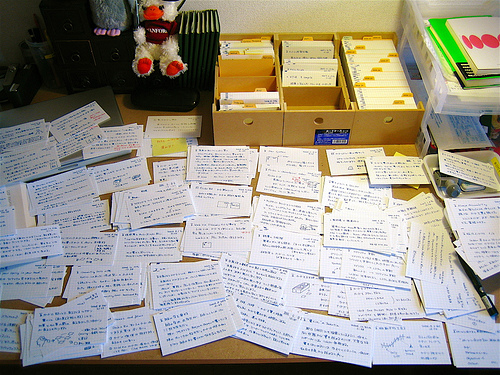
Digital Index Cards for Research Papers
2. Customize it for your Project

First thing’s first, go ahead and rename the tables so that it’s apparent what project you’re putting together.
On the first table, replace the [Class] placeholder with the name of the course your project is for, and on the second table replace the [Assignment] placeholder with the actual assignment name. You’ll be glad you did that down the road.
3. Enter your sources
4. Provide Context
Use the thing
1. launch the form
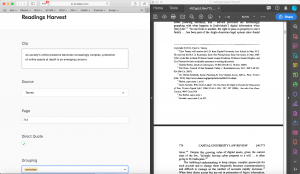 Click on the the text Unused Clips and go to the Readings Harvest form view, then click Share Form to launch the form in a browser. This will give you the environment to collect your research clips. I like to set my windows up side by side to easily move from one to the other.
 2. Harvest
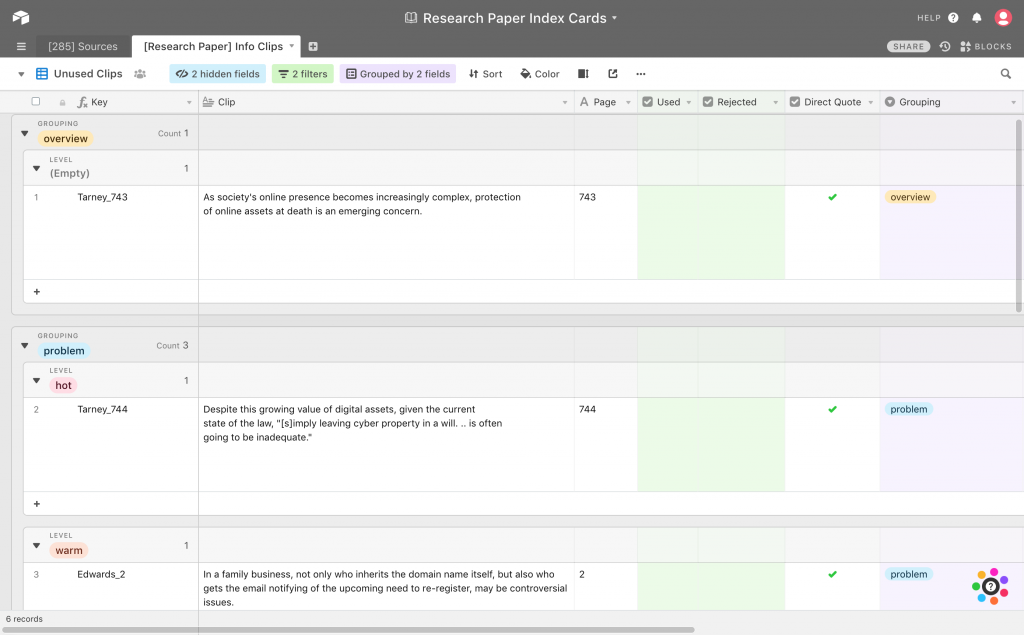
- Clip: paste in the text from the article.
- Source: click in the field and select from the articles you entered as your sources
- Page: record the page you took the clip from.
- Direct quote: check it if you didn’t paraphrase.
- Grouping: select a topic area to group by.
Put it all Together
1. Review
2. Assemble
Go through and start putting your paper together. You can use direct quotes or paraphrase the quotes at your discretion. As you use the clips, check them as used. As you do this, they’ll disappear from view, so you can use this view as a checklist.
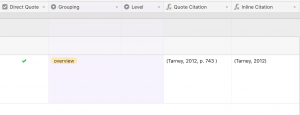
Before you check the clip as used, scroll right (depending on your screen) to get at the citations, all ready to go. Use the appropriate one for quote vs. no quote.
As you move through your article clips, you’ll undoubtedly find snippets that seemed great during the harvest, but now… meh. When you see those just click Rejected and they’ll also disappear from view. As you finish up, you can review the used and unused in dedicated views, accessible from the views dropdown.
3. Cite
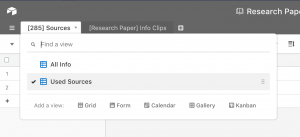
When you’re all done, head back to the Sources table, and change it to the Used Sources view to get a list of exactly which sources you used.
This will give you a list to take back to your Zotero, BibMe, RefWorks, or whatever you’re using, and grab out the full citations for your References.
You could always add a column and put the complete citation into Airtable too, but the alternative has never been that cumbersome a process for me to bother.
Comments on This Post
Thank you so much for sharing. I can’t wait to test this out. I figured there must be a better way to keep track & organize the research than a basic spreadsheet. I’ve dabbled with Airtable before, so excited to see how this works out. Any additional details or tips you have figured out since you posted this?
Gwen